Lesson Info
7. Liquify Tool & Unsharp Mask
Lessons
Lesson Info
Liquify Tool & Unsharp Mask
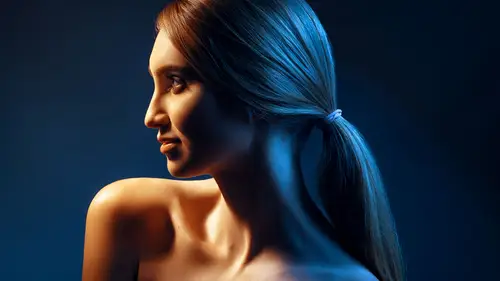
When it comes to liquifying, I leave that to the end just because you can't undo liquify if you've done all this work, so it's kind of a problem. I don't liquify too much. I liquify things like if there's a weird bulge or something, I'll push that in. But aside from that I don't liquify too much. The way that I liquify is really simple, I'm gonna show you. Now, let's say for example I wanna liquify this. I can't right now because it's just a folder that I've selected. I have to make a solid layer on top of everything. Okay. And the shortcut is using basically all of your modifier on your keyboard, which is shift, option and command and then hitting the letter E. So again, it's shift, option, command and E. Okay. Sounds like rocket science, it's not. It's just like all of your modifiers and then E. Then I'll have a new layer on top. Now go to filter, liquify. And once that's done, you get into liquefy command and the tool that I use the most is gonna be this first one over here. This fi...
rst forward warp tool. And my pressure's usually five. My density is 50. Pressure is like flow. Density is kind of like softness, if you will. And size is subjective to what area you're working on. And the reason I do this is, is because normally pressure's at but with five it's easy to nudge things a little bit easier. So, if you want to increase the volume of the hair, you can easily nudge things out a little bit easier or you wanna nudge, you know, angles of the arm because it's closer to the lens, it's easier to do that. But if it's at 100, which is normally at it can really become difficult to liquefy. Okay. So, I'll hit okay. And like I said there's not a tone of things that I liquify. It's just based on if you want to or not, etcetera. When it comes to things like sharpening I typically will make a duplicate of this and say command J or layer, duplicate layer. And then I'll go into filter, sharpen, unsharp mask. And the reason I do that is very simply I can get a very visual idea in terms of how much I'm sharpening. I usually like to keep it at .5 radius, pixel radius and I start with about and kind of work my way from there. If I check and uncheck preview you can kind of get an idea of what's happening. Also, when you click on the image itself, this preview image, what happens is you can turn the on and off and see the final impact. So, I'll keep it at about 50 or so and then mask in just specific areas. Like I won't do the skin again if it's not necessary. I'll do like the eyes, the lips, etcetera. Okay. And then aside form that usually when it comes to web standard I'll resize it after I've saved as a separate copy. And I'll usually do like 2048 pixels for Facebook on the long end 'cause that's what usually Facebook likes, 2048 pixels. But do that as a separate copy 'cause you don't wanna save over your PSD. Haven't done that before. (laughing) Not fun. So aside from that, that's kind of what my workflow is. I have my liquify. I have my sharpening. And then I'll mask that to specific areas as needed but usually it's just makeup, eyes and things that need to be sharpened if necessary.
Class Materials
Bonus Materials with Purchase
Ratings and Reviews
Elizabeth Mesley
This is a really wonderful class. Clear instruction - the only thing is that I wish there was a bit better explanation about liquefying and what the purpose of using that tool is. However, wonderful class overall!
Paloma Aviles
He is fantastic, the best online teacher you can have. You learn a lot from him, he made easy photoshop. I recommend his course 100%.
Anastasia Roschina-Kulakova
Retouching is my favourite part of the art process, and here I found really nice and helpful tips for an easier workflow! Thank you!
Student Work
Related Classes
Portrait Photography