Crop, Rotate, and Export a Photo in Photoshop on the iPad
Lesson 4 from: Photoshop iPad for BeginnersJesús Ramirez
Crop, Rotate, and Export a Photo in Photoshop on the iPad
Lesson 4 from: Photoshop iPad for BeginnersJesús Ramirez
Lesson Info
4. Crop, Rotate, and Export a Photo in Photoshop on the iPad
Lessons
Class Introduction
00:53 2The Photoshop iPad Interface and Must-Know Settings
10:36 3Understanding Layers in Photoshop on the iPad
04:17 4Crop, Rotate, and Export a Photo in Photoshop on the iPad
01:49 5Remove Distracting Elements From Your Photos in Photoshop on the iPad
04:26 6How to Color Correct Photos with Photoshop on the iPad
07:34 7How to Color Grade Photos with Photoshop on the iPad
04:12 8How To Change The Color of an Object in Photoshop on the iPad
10:56Lesson Info
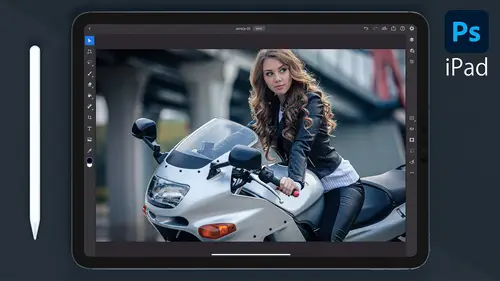
Crop, Rotate, and Export a Photo in Photoshop on the iPad
Let's start with the first project in this class where I will show you how to crop, rotate and export a photo in Photoshop on the IPad. First, select the crop tool from the toolbar in the crop and rotate mode. A bounding box appears around your image. You can drag on the corner handles on the bounding box to select the areas to crop. The touch. Shortcuts give you extra control. The primary touch shortcut allows you to constrain the crop. Simply tap and hold the touch, shortcut and drag on the corner handle. If you drag out to activate the secondary touch shortcut, you can crop from the center of your crop overlay. Then you can decide how to crop your image. For me, this crop looks good. The rotation dial appears directly below the bounding box, and you can drag on it to rotate your crop. Rotating the crop can help you straighten Ah, horizon. Dragging on the rotation dial while holding the primary touch shortcut will rotate the crops in 15 degree increments. In this case, I'll rotated m...
anually. Once you rotate to straighten your horizon, you can tap on the done button next you can export this image by tapping on the export and share button. From here, you can do a quick export to export a high quality J peg, but instead choose published and export, where you have MAWR export options, including the foul format, PNG, JPEG, PSD and Tiff. Each file format will give you different export options. With a J peg. You can set the file quality. The higher the quality, the larger the file size. In this case, I can set it to maximum and then tap on export. From here, you can select where to save the image. I'll tap on the save image button to save it on my IPad. Next, let's look at the retouching tools in Photoshop on the IPad.