Light Painting: Composing The Scene
Lesson 7 from: Capturing and Processing Night PhotographyTim Cooper
Light Painting: Composing The Scene
Lesson 7 from: Capturing and Processing Night PhotographyTim Cooper
Lesson Info
7. Light Painting: Composing The Scene
Lessons
Class Introduction
01:47 2Safety And Scouting
01:28 3Photo Pills App
03:45 4Civil Twilight Image Prep And Test Shots
12:40 5Setting Intervalometer And Capturing Cityscape
04:04 6Light Painting: Equipment Overview
03:20 7Light Painting: Composing The Scene
03:14 8Light Painting: Setting Sky Exposure Ambient Light
08:06Light Painting: Color And White Balance
05:12 10Light Painting: Mixing Warm And Cool Light
14:58 11Review Cityscape Library
02:01 12Opening Images In Lightroom And Moving In Photoshop
19:29 13Cityscape Image: Layers Theory
07:56 14Cityscape Image: Selections And Mask Theory
05:48 15Cityscape Image: Selection Using Color Range
08:27 16Cityscape Image: Altering Masks
05:36 17Review Light Painting Library
03:01 18Light Painting: Opening As Layers In Photoshop
11:00 19Light Painting: Layer Masks
12:05 20Light Painting: Edit Review
07:59Lesson Info
Light Painting: Composing The Scene
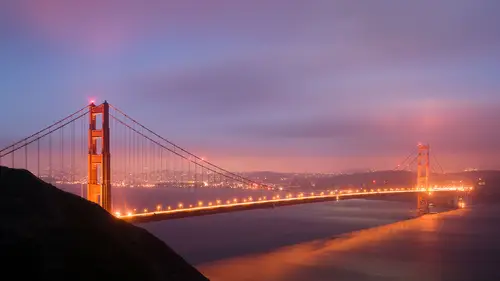
Once you get your equipment gathered up, the next step is to, well, you gotta make a composition. And, when we started off earlier, we started off right at dusk, during civil twilight and it was pretty easy to set our composition up because we had lots of light. But, in this situation, it's really quite dark. My initial exposures will probably show that I've got a very bright sky and I see pitch black in the foreground. And that's what we need to illuminate. So, this makes it kind of difficult to actually compose your shots. So, a very bright flashlight, like this Coast HP7R, is going to allow us to kind of throw some light on the scene while I actually put on my live view on the camera. And it's going to help me compose. Now, right now it's pretty dark so what I'm gonna do is try opening up my aperture a little bit and see if I can get some more light in there. And, there we go. So now, with this light on the scene, I'm able to make subtle compositional changes. Ya, maybe I don't like...
this corner here or maybe there's too much over here, too little sky, is there anything in the foreground? A nice bright flashlight aids in composition. Now, of course I'm not gonna want to white paint right from this angle, but it really does help us get that initial composition. Also, it helps us focus. So I'm pretty happy with where I guessed my composition to be set up right here, so what I'm going to do is I'm going to use my flashlight to focus the scene. Alright, so we throw a little bit of light out there and what I'm actually going to do is I'm going to zoom in and use my live view. This is a great way to focus. I don't like to spend a lot of time auto focusing at night although I will if need be. But ultimately we're gonna want it in manual focus so that our subsequent shots don't keep re-focusing. So what I'm gonna do is I'm gonna move my little cursor right over this bridge and I'm going to zoom in and I'm going to manually focus. And that's looking pretty good. Now at this point I could also zoom up and make sure that my bridge is gonna be sharp and that looks maybe a little out of focus and part of that reason is because I opened up my aperture to about F4. So, as I pull my aperture down, that will start to get sharper and sharper and sharper. And that's probably looking pretty good right around in there. And let's see where that puts us. Ya, somewhere around 6.3. Ah, that's good. Let's just round it off to 8. Alright, so, we've got our initial composition with the aid of a bright flashlight and we also focused our scene. The next step now is to insure that the camera is put back onto manual focus.
Ratings and Reviews
Phillip Ziegler
This course, along with the others by Tim Cooper, are outstanding. His demonstrations and explanations are so clear and easy to follow. I've been out doing long exposure night photography using what i learned from Tim and and delighted by the results.